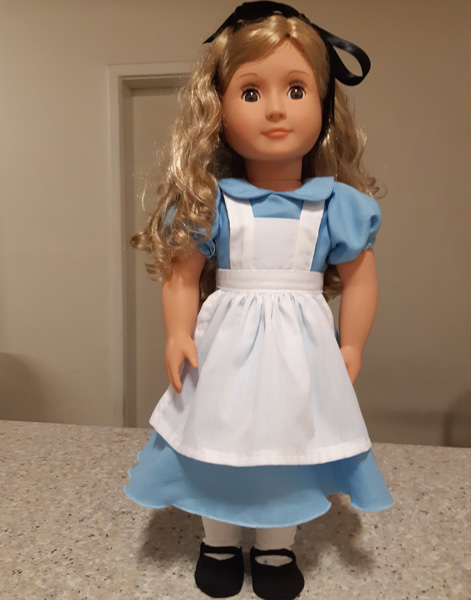
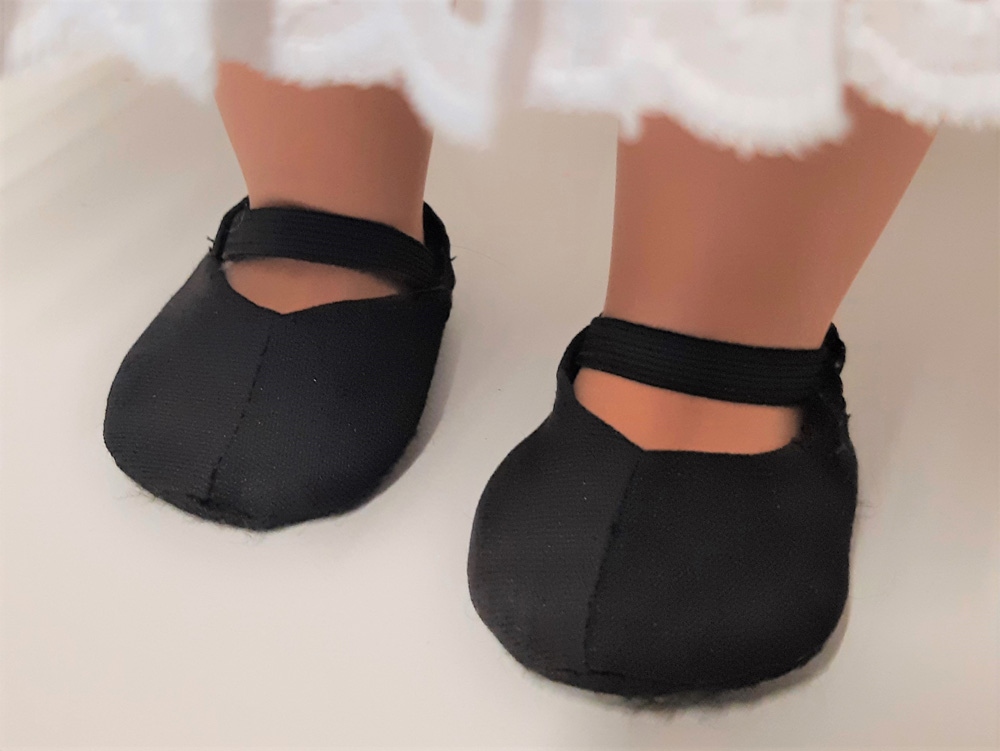
I’ve said this before and I’ll say it again I’m sure, I love the creativity of the members of my Facebook Sew and Share group and I really appreciate how willing everyone is to share their ideas.
Tina has been a member of this group for a number of years now and comes up with the most amazing creations. When she posted a photo of these Mary Jane shoes she made using my 3 Way Shoe Pattern I thought they were so cute I asked Tina if she would share how she made them with the group. It wasn’t long before Tina uploaded these great instructions to the group. I’ve since realized that not many people go to this file section so with Tina’s permission, I’m now sharing them in this blog post in the hope that more people can see how easy it is and maybe give it a try.
So here goes…..
Use pattern pieces #1, 2 and 3 of the 3 Way Shoe pattern. I used felt for the sole (piece 3) and upcycled netball bloomers for the original shoes. For the following photos I used a heavier t-shirt/knit type material as it was all I had. Not ideal as it was a little too stretchy. You could also use a medium weight woven fabric such as cotton. I used tracing Vilene to trace out pattern pieces onto so that I could adjust them around the foot.
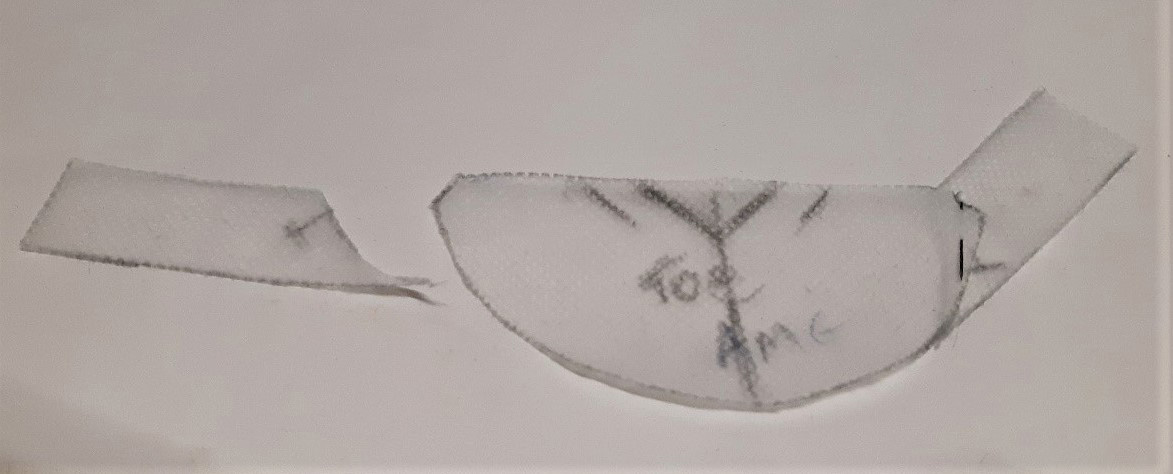
1. Cut piece #1 to the cutting line for the shoe. With a ruler, draw a straight line so that it intersects with the top of the arch in the pattern piece as in the photo. (approx. 2cm)
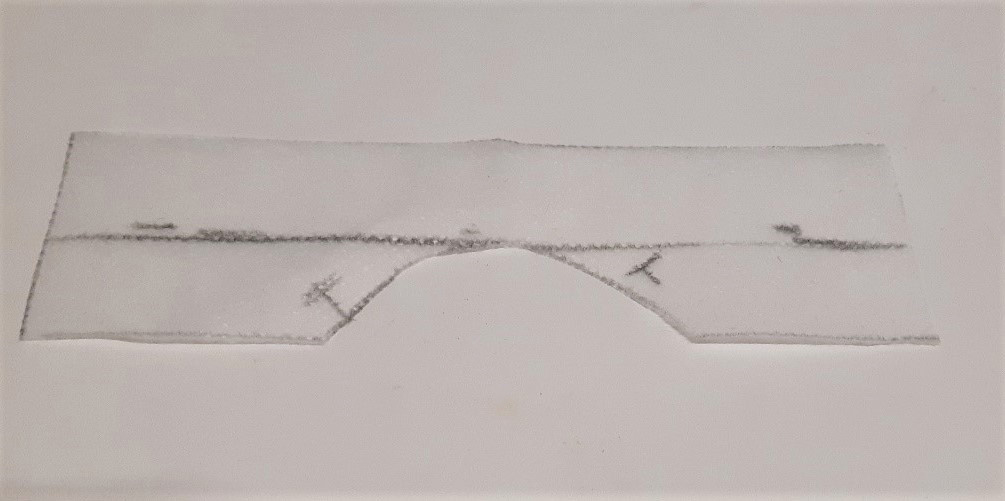
2. Cut along the line drawn so that you end up with two pieces and discard the top piece.
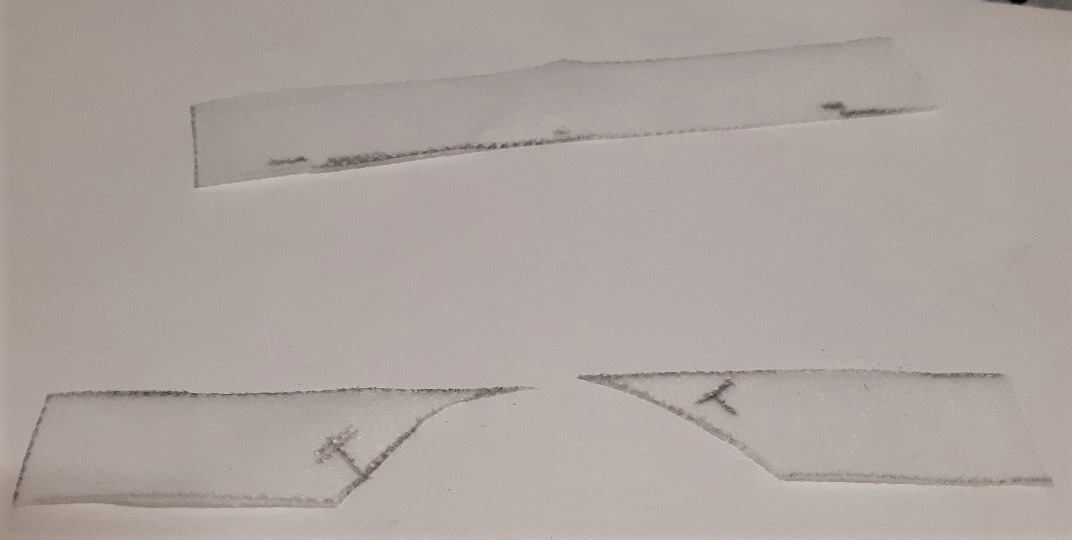
3. Take each of the remaining pieces and flip over so that the point is on the bottom. Join these pieces to pattern piece # 2 (toe piece) with a pin as shown.
4. Once both sides are joined, trace over using Vilene or baking paper so that you have 1 piece without joins. I found that I had to add 1cm on top of the straight edges as shown in photo so that there was enough for a seam allowance.
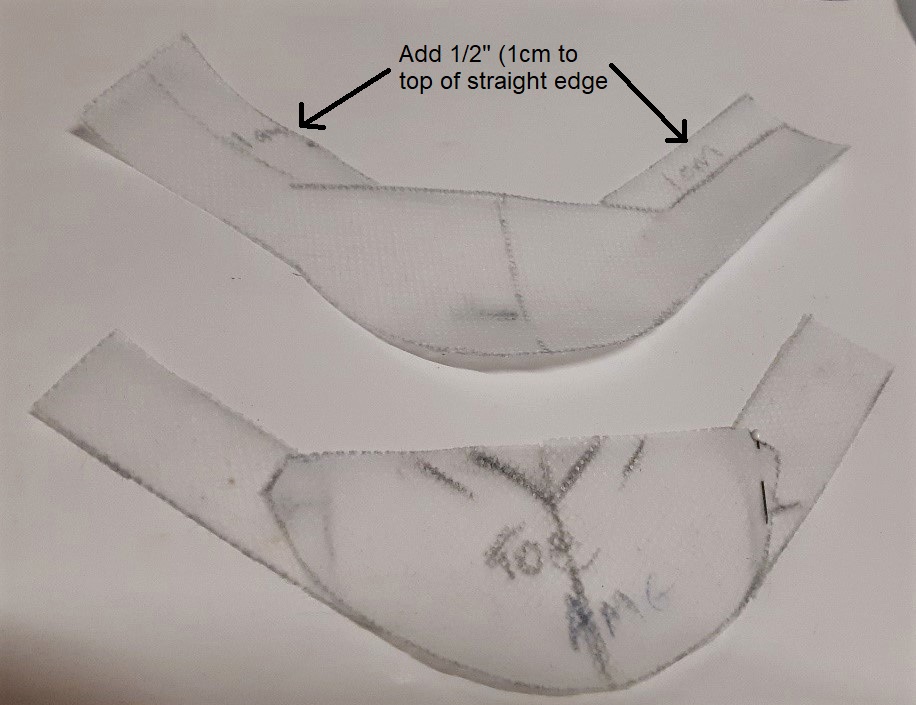
5. Cut out material using the above piece (instead of separate 1 & 2), and cut out piece #3 (sole with no alterations)
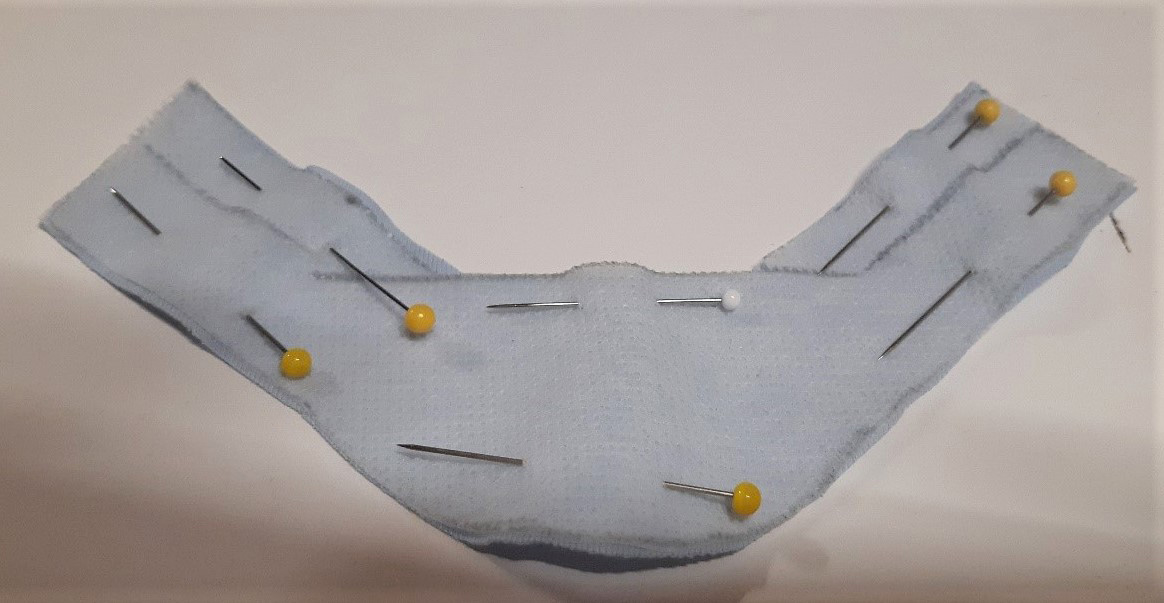
6. Stitch the two short ends together (the back of the top piece of the shoe). Mark the middle on the toe by folding in half and try it on the doll’s foot with the wrong side facing out so that it can be pinned to fit the top of the foot. Stitch.
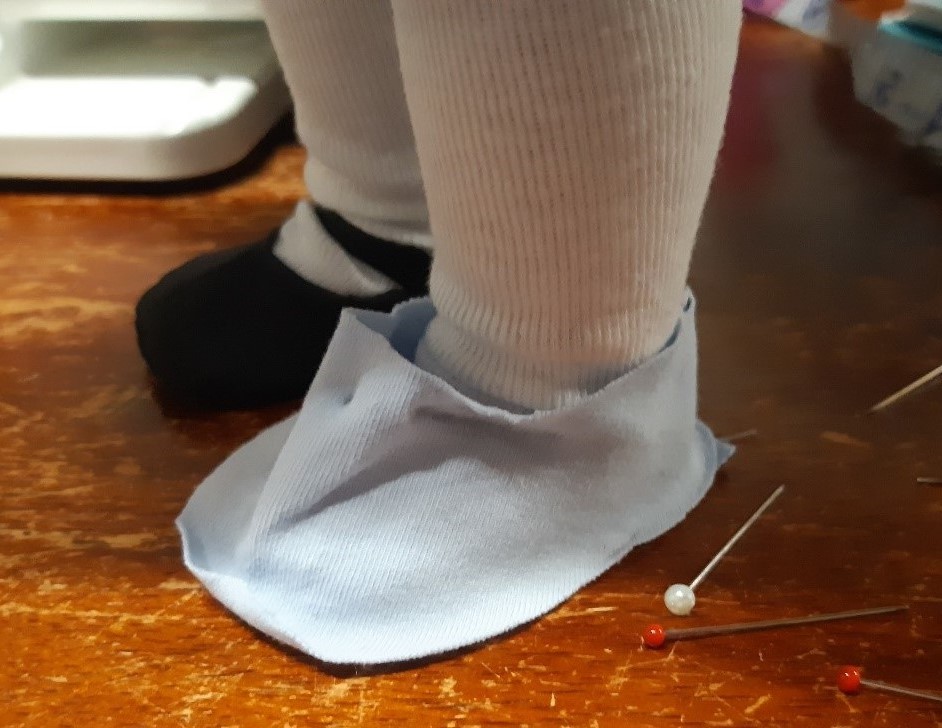
7. Try it back on the foot to check the fit. Mine is a little loose as the fabric is a bit too stretchy. I have also marked the top of the shoe where I am going to trim a little of the excess fabric off.
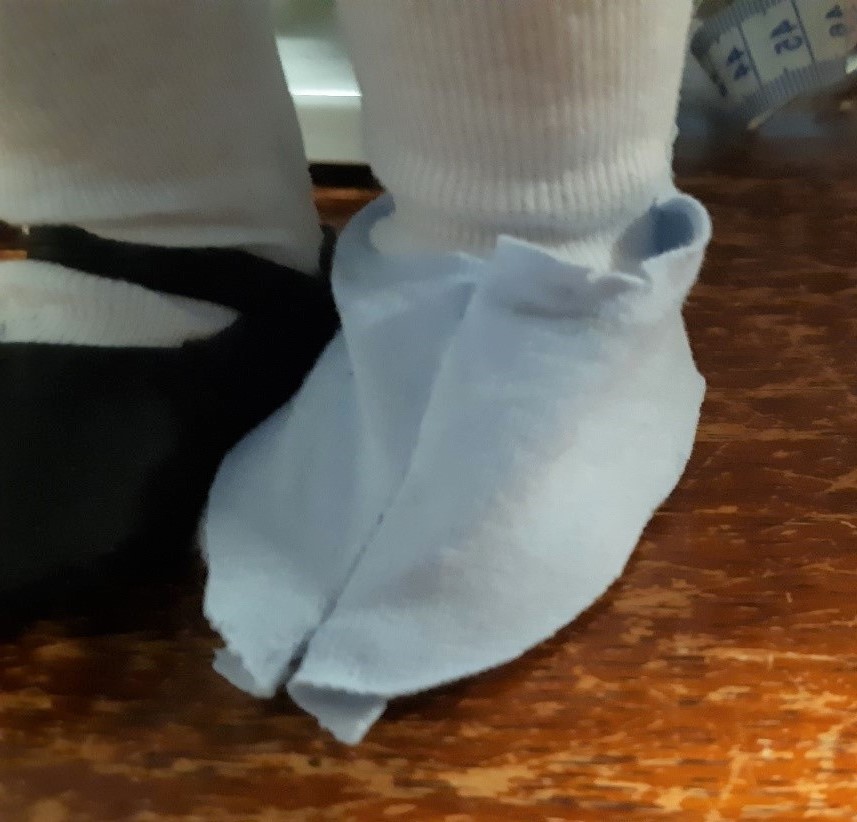
8. After you are happy with the fit, attach this piece to the sole, right sides together. Stitch with a ¼ inch seam.
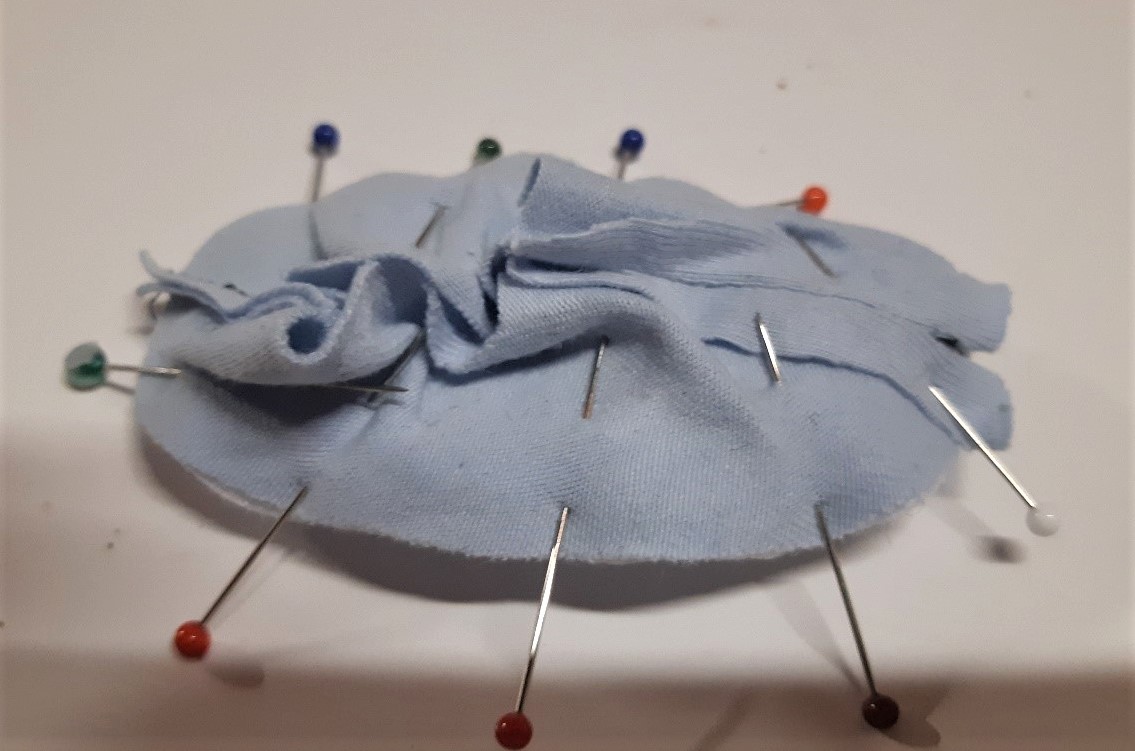
9. Trim seam allowance close to the stitching (approx. 1/8 inch), clip curves if needed or trim use pinking shears and turn to right side. Push curves out so they give a nice smooth curve on the outside.
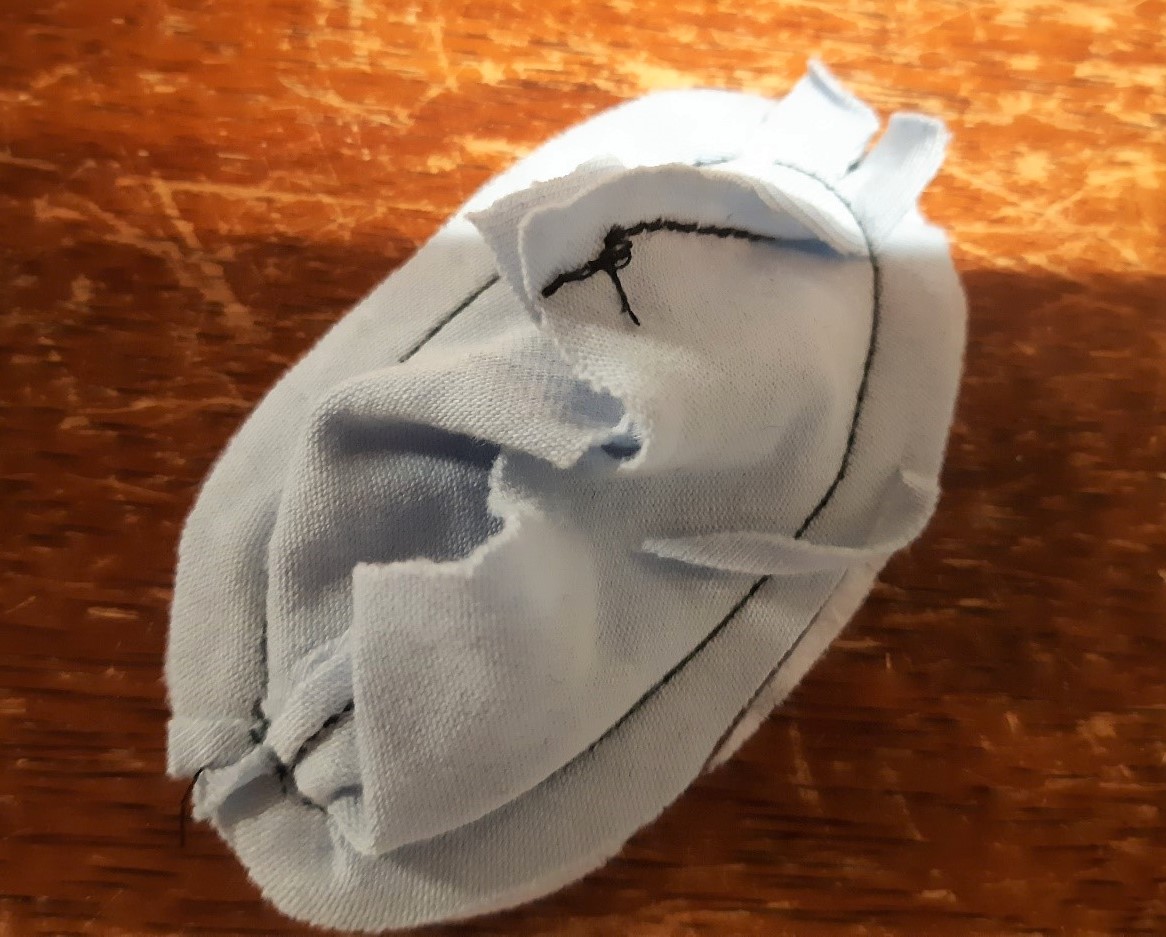
10. Fit back on the doll and turn down hem around top of the shoe. Pin the hem where you would like it to be – high or low depending on finished look.
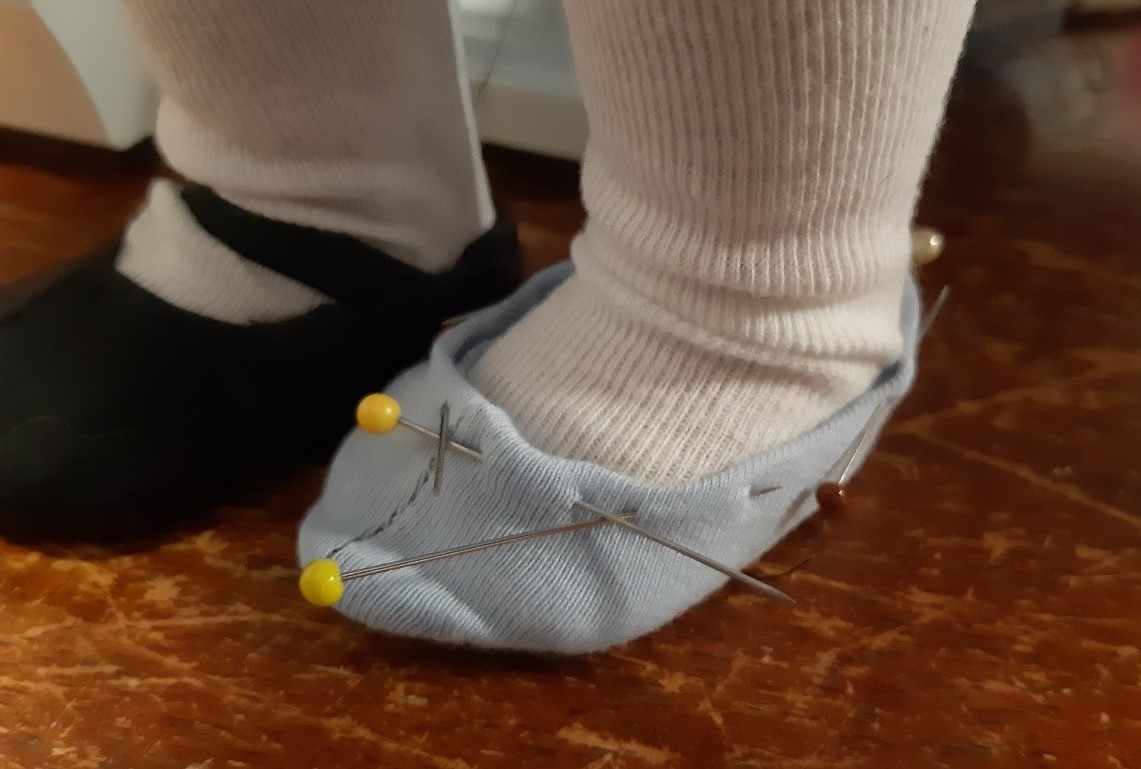
11. Either hand stitch the hem around the top of the shoe (easiest) or sew using a machine.
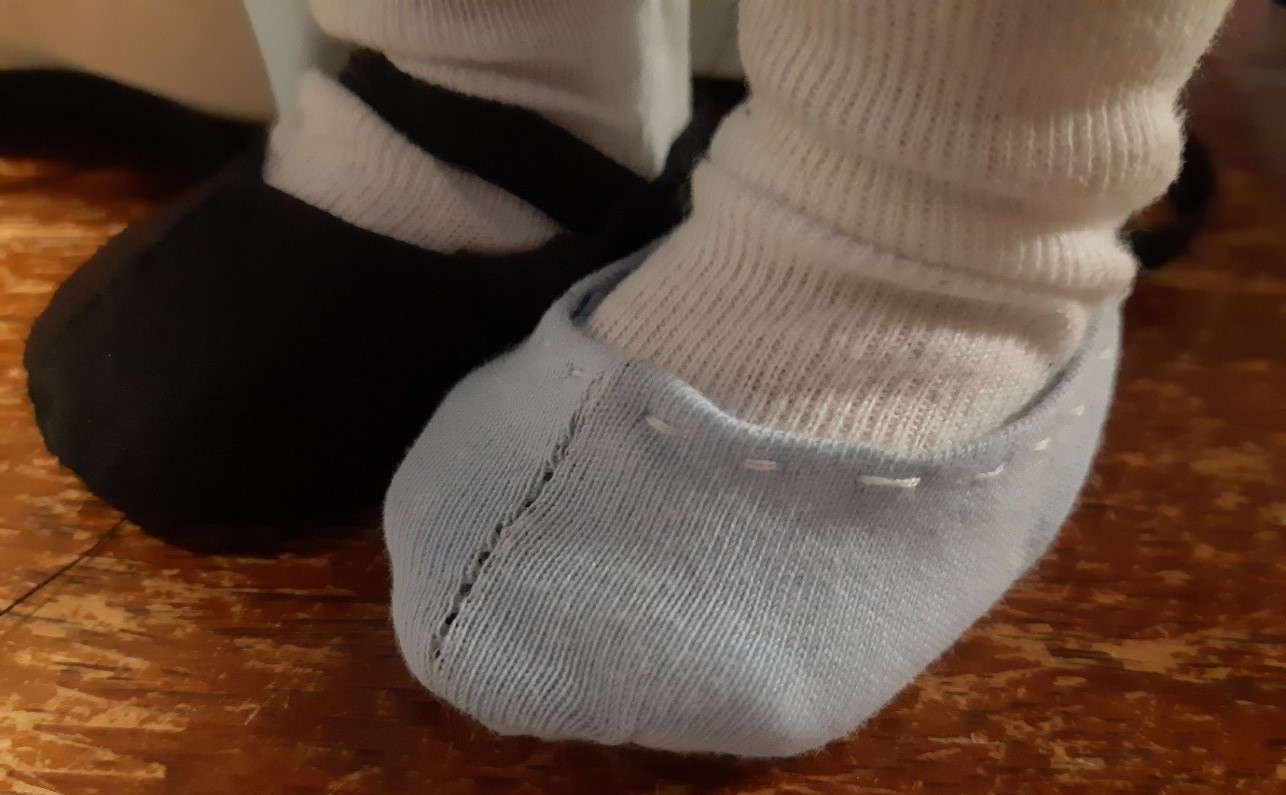
12. After the hem has been stitched down, try the shoe back on and cut a piece of 6mm elastic to fit across the instep. Pin in place on both sides after you are happy with the placement. Stitch in place.
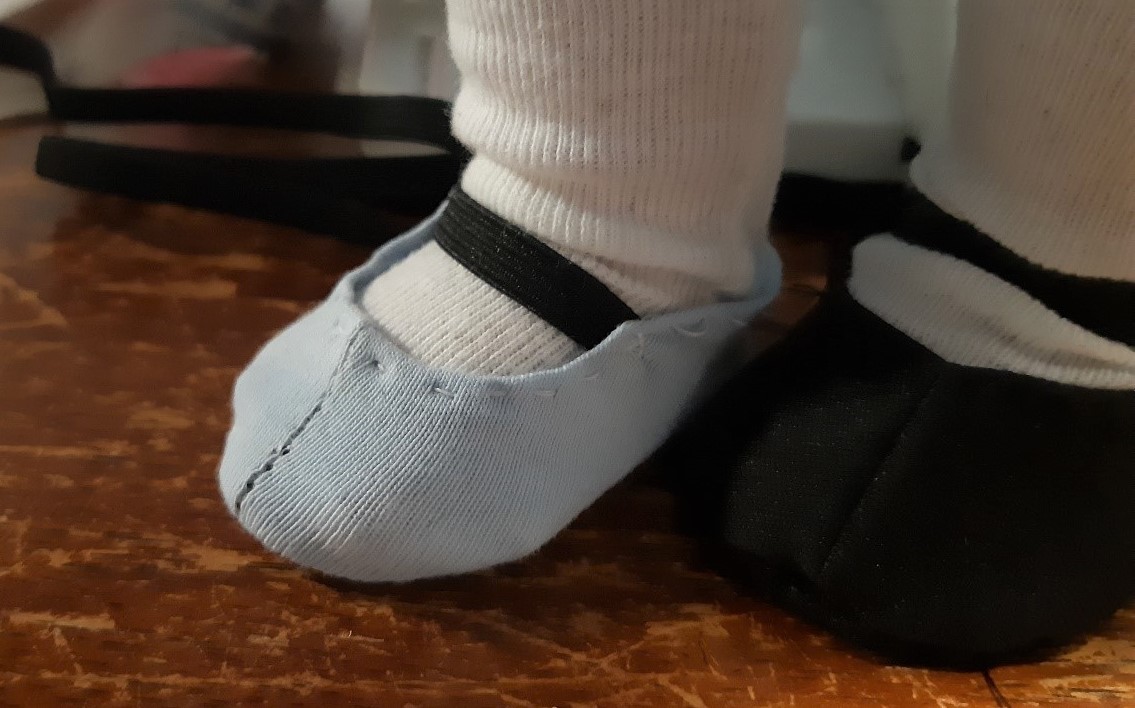
Thanks so much for sharing this with us Tina, you’ve done a great job describing your process and the Mary Janes are adorable on ‘Alice in Wonderland’.
This process can also be used to make a pair of Mary Jane shoes for the Cabbage Patch doll too, just use the 18 1/2″ Cabbage Patch size 3 Ways Shoe Pattern to make your alterations to.
Do let me know if you use these instructions to make your very own pair of Mary Janes from my 3 Way Shoe pattern, I’d love to see a photo.
