I just love the creativity of the members of my Facebook Sew and Share group and I really appreciate how willing everyone is to share their ideas.
Monica is a very active member of this group and she posted her version of my 3 Way Shoe Pattern with ‘real’ soles, not fabric soles. I thought they were so cool I asked Monica if I could share her idea in a blog.
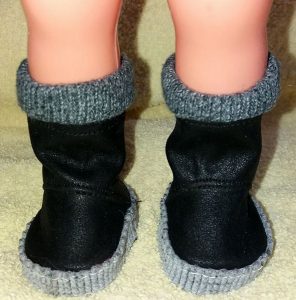
Monica resized these boots to 90% of the original size so that they would fit her doll but regardless of what size you are making them, the steps will be the same. I haven’t made these myself yet so will use Monica’s photos and directions that she sent me.
So here goes…..
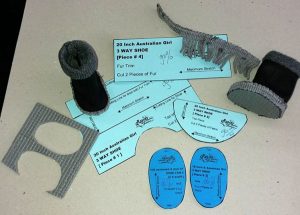
1. Cut out pattern pieces #1, #2 and #4 (if making boot with top trim) and make as per the original instructions until the end of step 7. Monica has used the top part of a sock for the top trim on this pair of boots – another clever idea.
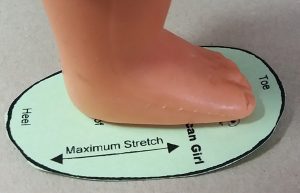
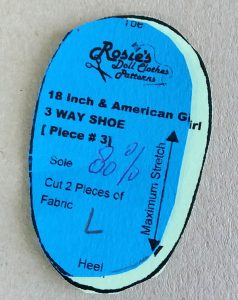
2. Print out the Sole i.e. piece #3 about 10% smaller as you don’t need a seam allowance. Monica has reduced hers to 80% as she is wanting her finished shoe to be 90% of the original size.
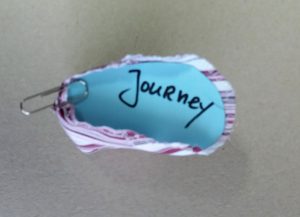
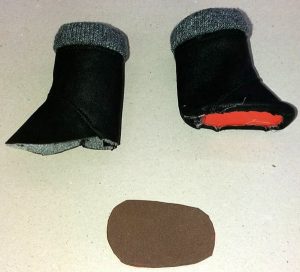
5. Before cutting the sole, it is a good idea to place this pattern piece inside the upper part of the shoe just to check that it is going to fit.
Monica is showing this step using a different shoe as she didn’t take a photo of the original shoe. She is using a paper clip to help hold the sole in place as she checks the fit.
6. To make the inner sole, cut 2 pieces of thick cardboard or cork. If using thin cardboard cut 4 pieces and glue two soles together as you need a stiff sole to prevent them from bending when folding over the fabric.
7. Cut little V’s out of the seam allowance of the upper part of the boot making sure to not cut past ¼” (6mm). Pinking shears work a treat here and it also stops the fabric from fraying.
8. Place a mark at the centre front and centre back of the sole and centre front and centre back of the upper part of the boot.
9. Place the sole inside the shoe matching the centre front and centre back marks. Fold the seam allowance over the cardboard/cork and glue in place. A hot glue gun is perfect for this as it dries really quickly. Normal craft glue is not recommended for this as it is difficult to hold all parts of the seam allowance down while it dries. As Monica told me, ‘that project ended up in the garbage, as there was glue all over and it didn’t want to stay where I wanted it.’
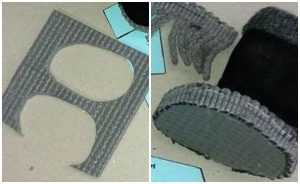
11. If you wish to hide the edges of the glued soles, use a trim and glue around the shoe starting at the centre back or if you have marked and cut the soles with a left and right, start at the inside arch. Monica used the top part of a fringe trim but some other suggestions for the trim are thin strips of foam, flat shoe laces or grosgrain ribbon. The thickness of this trim will depend on how thick the sole is and the look you wish to achieve.
This method should also work just as well if making the shoes and Monica suggests using a fabric that is easy to fold over, otherwise it will be very hard to glue down.
Thanks so much Monica for sharing this awesome idea.
If you give this a try, please send me a photo and let me know how you go.
And if you have an awesome hack that you’ve used on one of my patterns and you would like me to share in a blog, please send me an email with details and photos.


As a person who loves to make shoes, and has made a ton of them I am going to have to try this one day…………soon I hope. Thank you Rosie for Sharing Monica’s idea. I love it! Great job to Monica too. I love your boots!
Very cute! Great idea! Thanks for sharing!
Thank you for sharing this, it is good info to have.