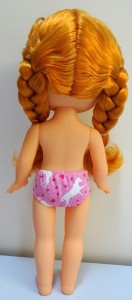
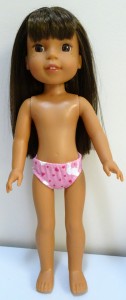
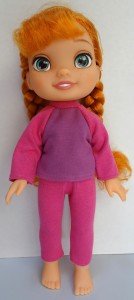
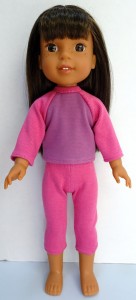
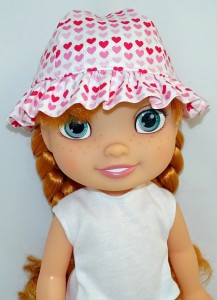
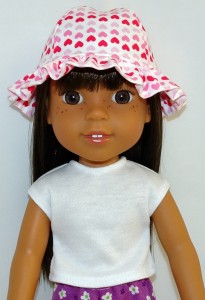
Since American Girl came out with the new 14 ½” Wellie Wishers doll, I’ve had many people asking if I will be doing Wellie Wishers clothes patterns to fit them. So I thought I had better get myself one so that I could do a little experimenting. Ashlyn finally arrived and around about the same time, I started a Facebook group, Rosie’s Doll Clothes Sew and Share. One of the first people to join this group was Ann Mellor who has done my How to Sew Doll Clothes video course and been a wonderful customer since my very first year. Ann posted some gorgeous photos of Hearts 4 Hearts and Wellie Wishers dolls wearing clothes that she had made after resizing some of my patterns. So immediately I asked Ann what percentage she resized the patterns to?
Ann Replied, ‘Winter Pj’s – For the H4H girls 60% is just about perfect and 65% for the Wellie girls, but I made the collar a bit wider and added about 1 ½” to the length of the pants and ½” to the top at the waist. The bigger pattern will fit the H4H girls too, but a bit looser.
Summer Dress – For the H4H girls, I printed at 60%. For the Wellie girls there is a bit of a difference. They have a longer waist and are a bit broader in the chest. Some of my patterns I’ve printed at 65% for them and added 1/4 of an inch to the length at the waist. The rest fits pretty well.’
‘Sew’ this got me very excited! Yes, the group has only been going for a few days and I’ve been inspired by one of my past pupils – how awesome is that!
I decided to go through my patterns and reduce them as Ann advised. I don’t have a H4H doll, but I have my new Wellie Wishers doll and a Disney Toddler doll which is super popular here in Australia at the moment. So I’m trying these new resized patterns on both of these dolls and I think the Disney Toddler doll may be similar to the H4H dolls.
In this blog I have concentrated on the bonus patterns that come with my How to Make Doll Clothes Video course and I will do more blogs in the future reducing more of my doll clothes patterns. My hope in doing these blogs is that you will save money by not having to purchase new patterns for your new dolls and that you realize just how easy it is to adjust patterns and ultimately giving you the confidence to have some fun and experiment with your patterns.
All pattern reductions were based on my 18″ and American Girl patterns and the following table shows you what adjustments were made.
DISNEY TODDLER DOLL
WELLIE WISHERS DOLL
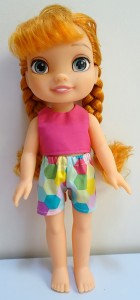
Print at 65%
Print at 65%
Add ½” (12mm) to top of pattern.
Use 6” of ¼” (15cm of 6mm) Elastic for waist.
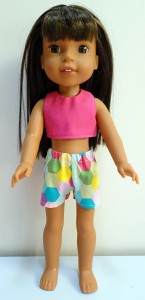
Print at 65%
Add ½” (12mm) to hem of pattern or add lace/trim if preferred.
Same as for Disney Toddler.
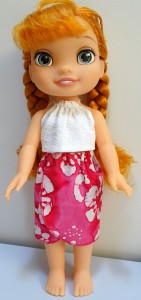
Print at 65%
Use string or ribbon instead of strap.
Overlap more at back.
Print at 65%
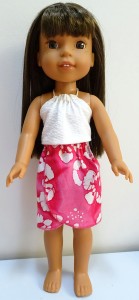
Same as for Disney Toddler.
Print at 65%
Add 1” (2.5cm) to top of pattern for short sarong.
Add 1 ½” (4cm) to top of pattern for long sarong.
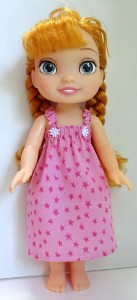
Print at 65%
Add 1 ½” (4cm) to hem of pattern or less if you prefer it to be shorter.
Use 7” of ¼” (17cm of 6mm) Elastic for around the top of the Nightie.
Use 3 ½” of 1/8” (9cm of 3mm) Elastic for each shoulder strap and use the casing method.
Place the centre of each strap 1 1/2″ (4cm) either side of the centre point at the front and 2″ (5cm) from the raw edge on both sides of the back.
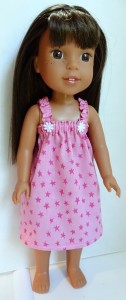
Same as for Disney Toddler
Print at 65%
Use 6” of 1/8” (15cm of 3mm) Elastic for the waist.
Use 1 ½” of 1/8” (3.5cm of 3mm) Elastic for each leg.
Same as for Disney Toddler.
Print at 65%
Add ½” (12mm) to the length of the hem on the pattern.
Use 6” of ¼” (15cm of 6mm) elastic for the waist.
Print at 65%
Add 1½” (4cm) to the length of the hem on the pattern. (in this photo I have the Disney Toddler pants on so you can see they need an additional inch.
Use 6” of ¼” (15cm of 6mm) elastic for the waist.
Print at 87% for Anna, however the Disney Toddler dolls have different size and shaped heads so this percentage may be different depending on your doll.
Reduce gathering stitch to 4.
Print at 77% for Ashlyn, however you may need to adjust this percentage if your doll has a larger head. Oh, and do be careful if you are using one directional print – you may notice that I cut the crown of my hat out upside down.
Reduce gathering stitch to 4.
If you need help resizing your patterns with your printer, you may be interested in my blog, How to Resize You PDF Doll Clothes Pattern Using Your Printer.
If you have other sized dolls and would like to know how to determine how much to reduce or increase your pattern, you may be interested in my blog, A Great Tip for Resizing Doll Clothes Sewing Patterns.
Please have fun with these adjustments and let me know how you go. You know I love to receive photos of your creations so please don’t be shy and send them in.
Happy reducing & sewing
