I’ve received such an awesome response to my first blog where I showed how easy it was to create 13 Inch Disney Toddler patterns and 14 ½ Inch Wellie Wishers patterns by resizing the bonus doll clothes patterns that come with my How to Sew Doll Clothes course that I’ve been encouraged to continue with Part 2. I have also been advised that reducing my patterns to 65% and doing the same adjustments mentioned, the clothes fit the 13 1/2 inch Dianna Effner Little Darling dolls too which is great news.
In this blog I will show how to alter some more of my 18 Inch and American Girl doll clothes patterns.
All patterns in this blog were printed to 65% of my 18 Inch and American Girl doll clothes patterns. The following table shows you what additional adjustments were made.
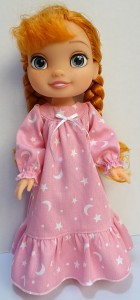
DISNEY TODDLER DOLL
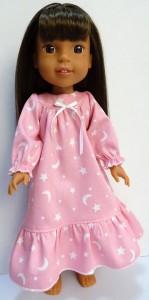
WELLIE WISHERS DOLL
Print at 65%
Use 2 3/8” of 1/8” Elastic for each wrist. (6cm of 3mm Elastic)
If you want it full length, add ½” (12mm) to width of frill and add 1” (2.5cm) to length of dress.
Print at 65%
Add 1/8” (3mm) to width of collar. Cut the sleeve at the American Girl length.
Add ½” (6mm) along the top of the pattern and ¼” (3mm) to the hem.
Use 6” (15cm) of ¼” (6mm) Elastic for waist.
Print at 65%
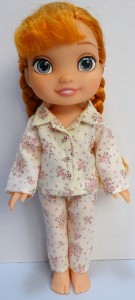
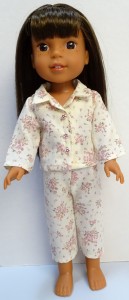
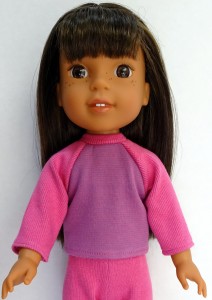
This photo shows the Disney Toddler Pyjamas on the Wellie Wishers doll so additional length is added in the comments below.
Add 1/8” (3mm) to width of collar. Add to ½” (12mm) to hem of shirt. Cut the sleeve at the Australian Girl length.
Add ½” (6mm) along the top of the pattern and 1¼” (3cm) to the hem.
Use 6” (15cm) of ¼” (6mm) Elastic for waist.
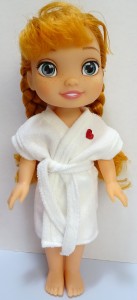
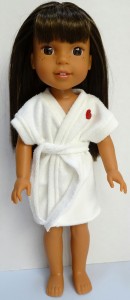
Print at 65%
Add 1/8” (3mm) to width of all trim and belt/tie pieces.
Add 1” (2.5cm) to hem length if prefer.
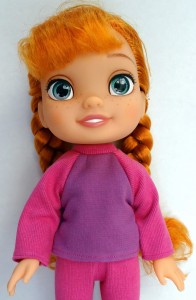
Print at 65%
This photo shows the Disney Toddler Long sleeve shirt on the Wellie Wishers doll so additional length is added in the comments below.
For Long sleeve add ½” (12mm) to Australian Girl length.
Add ¾” (2cm) to hem of shirt.
Enjoy adjusting your patterns and let me know how you go or better still, send me your photos.
I continue adjusting more of my patterns in Part 3. Or you can go back to Part 1 and see the additional instructions I added.
If you need help resizing your patterns with your printer, you may be interested in my blog, How to Resize PDF Doll Clothes Pattern Using Your Printer.
If you have other sized dolls and would like to know how to determine how much to reduce or increase your pattern, you may be interested in my blog, A Great Tip for Resizing Doll Clothes Sewing Patterns.
Happy reducing & sewing


Awesome! So excited to try printing patterns at 65%. Thank you for all the helpful info and pictures.
My pleasure Jenny. Don’t forget this resizing % and additional adjustments are based on my patterns and so for patterns by other designers you may need to play with the percentages a little and make other adjustments to get a good fit. Let me know how you go and I’d love to see photos 🙂
Thank you xxx
Thanks so much for your blog! I’ve been reducing American Girl doll patterns to 65%, and that works well for everything but hats: hats will be too small if pattern is reduced that much. The head circumference for a Wellie Wisher doll is approximately 9.5″, so keep that in mind when reducing the AG doll pattern.
Thanks for that reminder Barbara. If you check out Part 1 of this blog series you will find that I have reduced my Frill Hat pattern to 77% for the Wellie Wisher doll and 87% for the Disney Toddler doll.
I used the library printer the last 2 years to down size my patterns from 18 inch dolls .They work so well. Thanks for putting this on here.
So glad it’s working out! Thanks for letting us know.